Why buy a new Nuki Power Pack when you can easily replace the standard AA rechargeable batteries? I’ll show you how to save money on a new Power Pack and just change the batteries instead. Replacing the four cells is very simple if you know the right procedure.
Step 1: Preparation and Marking the Polarity
First, take the Power Pack out of the Smart Lock. Before you loosen the only visible screw, mark the orientation of the batteries. I didn’t do this at the beginning, but it’s important so you can put them back in correctly later. You can simply mark the polarity on the holder with a pen, as shown in the picture. This ensures that you don’t insert the new batteries into the battery holder the wrong way.
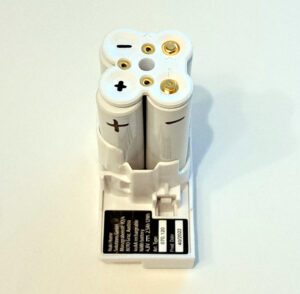
NUKI Battery Holder
Now you can no longer install the new batteries incorrectly.
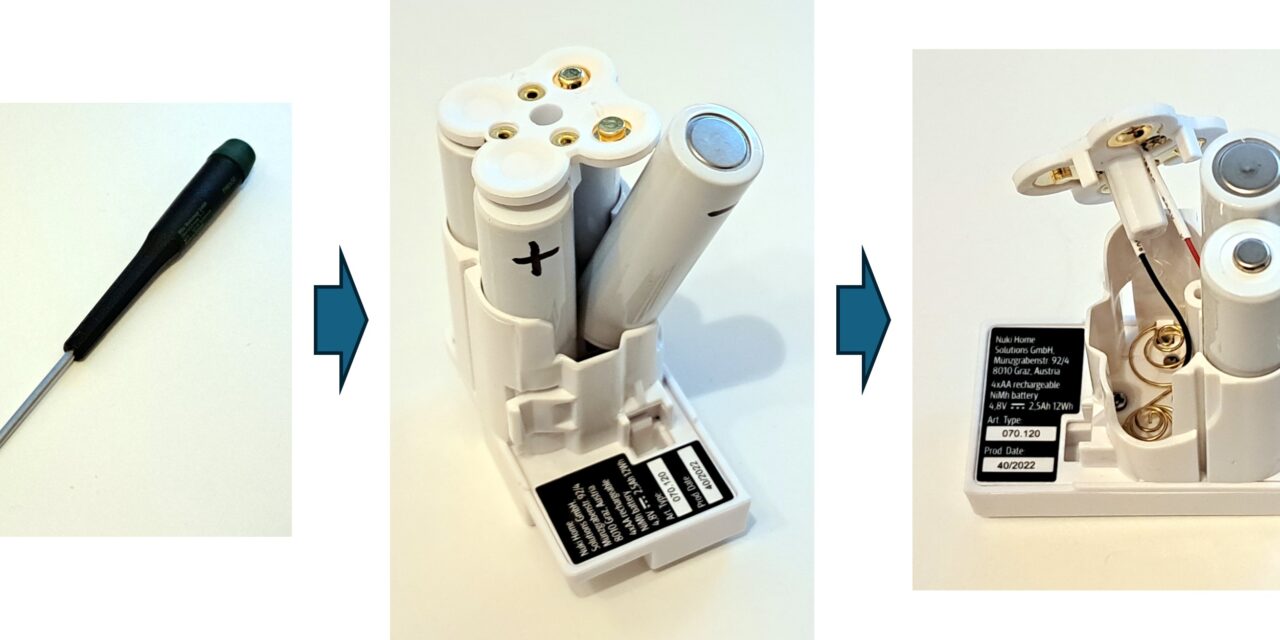
Step 2: Removing the Old Batteries
Now we’ll take the four cells out of the battery holder. To do this, loosen the screw in the middle of the cover with a PH1 Phillips screwdriver.
The cover now has some play. Attention: The two connecting cables are extremely short! Don’t pull too hard on the cover, so the cables don’t tear off. You should only tilt or incline the cover slightly to the side.
- Carefully tilt the cover to the side.
- First, take out the right cell to make space.
- Tilt the left cell next to it over the empty space of the already removed right cell and take it out as well.
- Now you have enough room to fold the cover to the side so that it hangs loosely on the short connection cable, allowing you to easily remove the two remaining batteries.
The following picture shows you how I proceeded step by step when removing the batteries. Here you can also see in the pictures that at this point I had not made the polarity marking on the battery cover, but already on the cells, which doesn’t really help once they are removed 😉
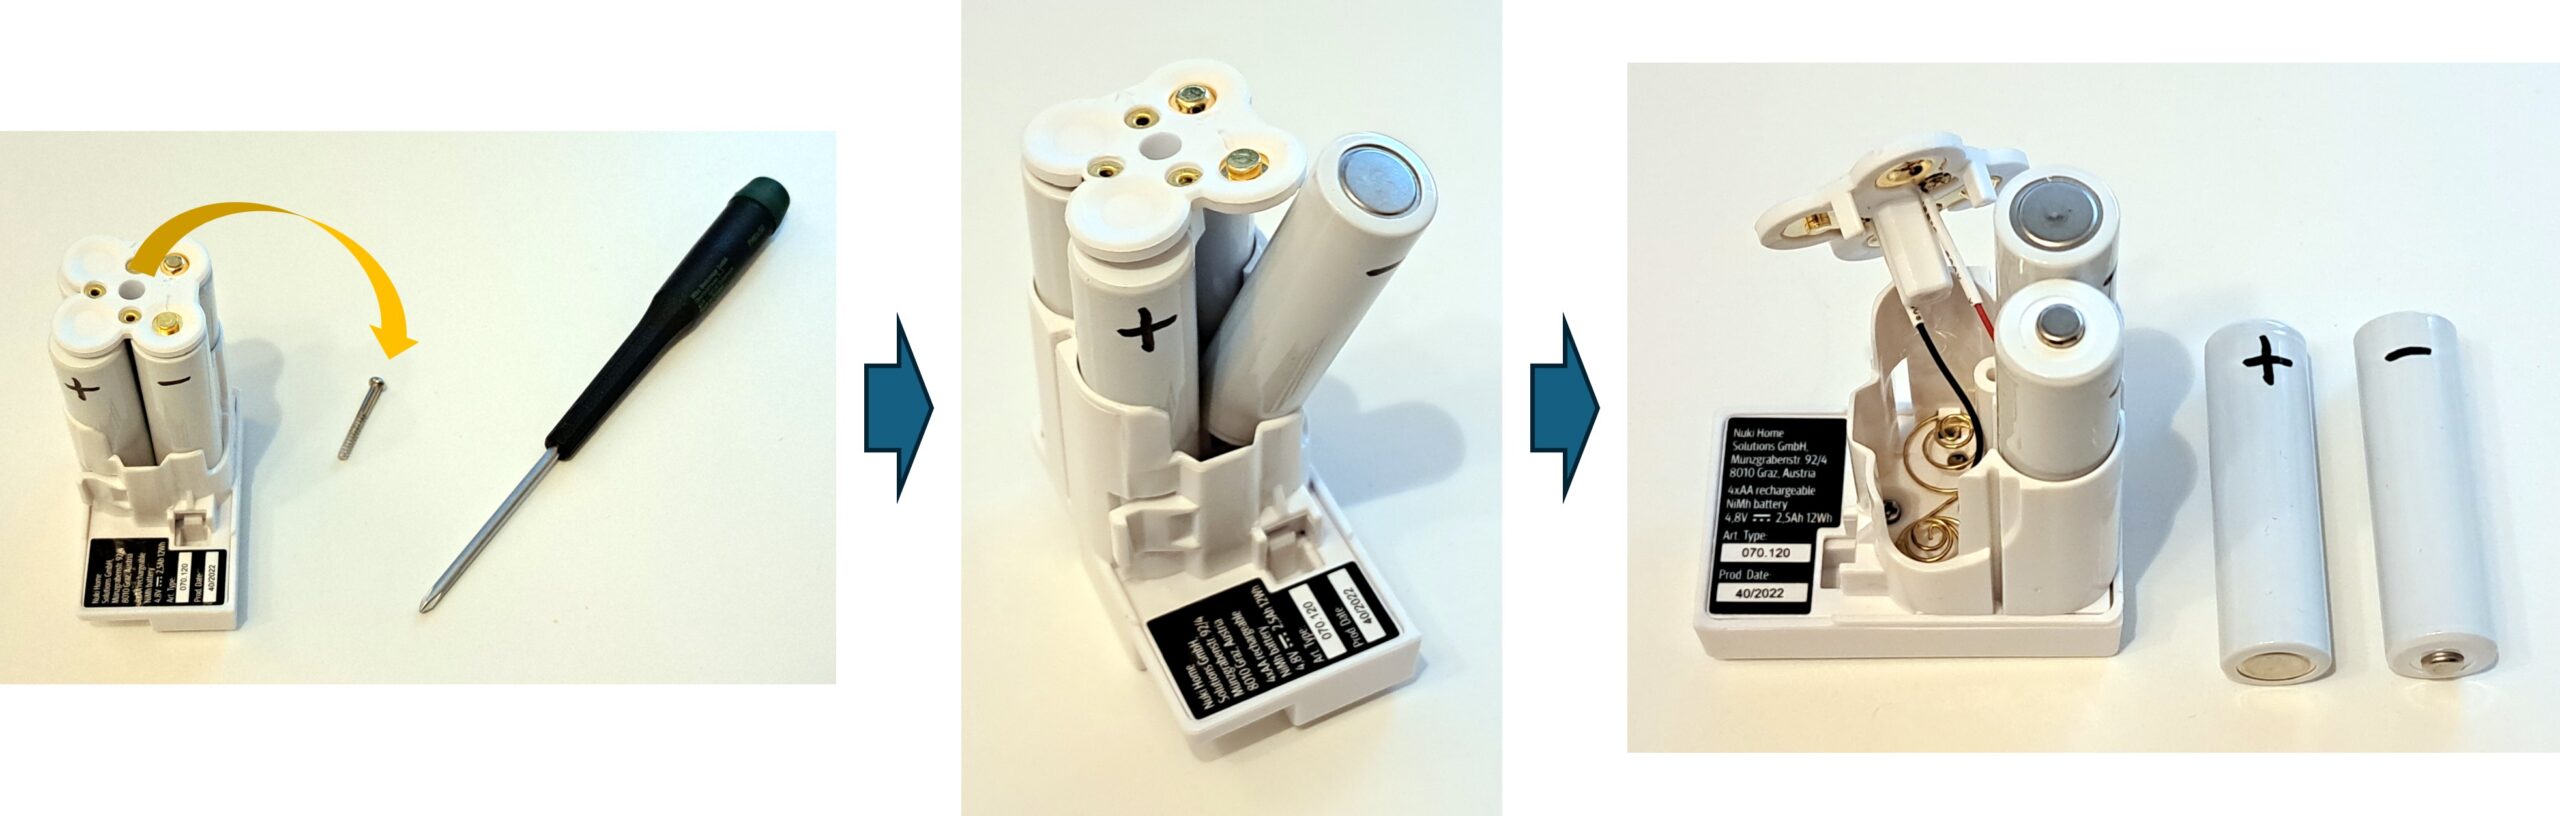
NUKI Battery Holder unscrewed
As new batteries, I bought these with 2500mAh. The capacity is roughly equivalent to that of the original cells.

Step 3: Inserting the New Batteries
Now, proceed in reverse order:
- First, insert the two rear batteries. Be sure to pay attention to the correct polarity.
- Put the cover of the battery holder back on. Again, proceed very carefully to avoid damaging the cables.
- Insert the left cell via the still empty space of the right cell.
- Finally, insert the right cell.
Check one last time that the polarity of all batteries is correct.
Step 4: Screw Everything Back Together
If the polarity is correct, tighten the screw again. Make sure you tighten the screw well so that the cover has firm contact with the new batteries. I had left it too loose at first, and my Smart Lock didn’t work. After I tightened the screw properly, everything worked perfectly again.
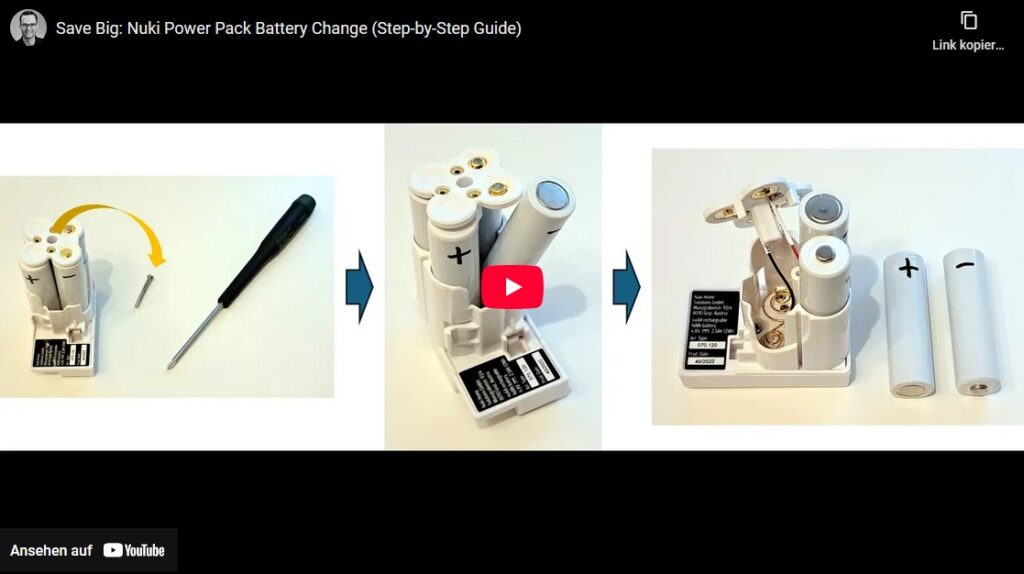
Video NUKI Battery Change
I also recorded an extra video here that shows quite well how I proceeded.
Summary
The replacement was really easy and worthwhile. The new batteries only cost me about 11 Euros on sale, which is a significant saving compared to buying a new Nuki Power Pack.


Recent Comments